The “Science” Hook: Anatomy of the Invisible Quick
Why is cutting black nails so terrifying? Because you are working blind. To master this, you must understand the biology of the canine claw.
Unlike a human fingernail which is flat, a dog’s claw is a cone. Inside this hard keratin shell lies the “Quick” (Ungual Process)—a bundle of nerves and blood vessels. In white nails, light passes through the keratin, making the pink Quick visible. In black nails, melanin blocks the light.
However, the Quick does not just “appear” out of nowhere. As you trim the nail, the cross-section changes texture. By recognizing these microscopic biological markers (specifically the transition from “chalky” to “waxy”), you can predict exactly where the Quick starts before you make the dog bleed.
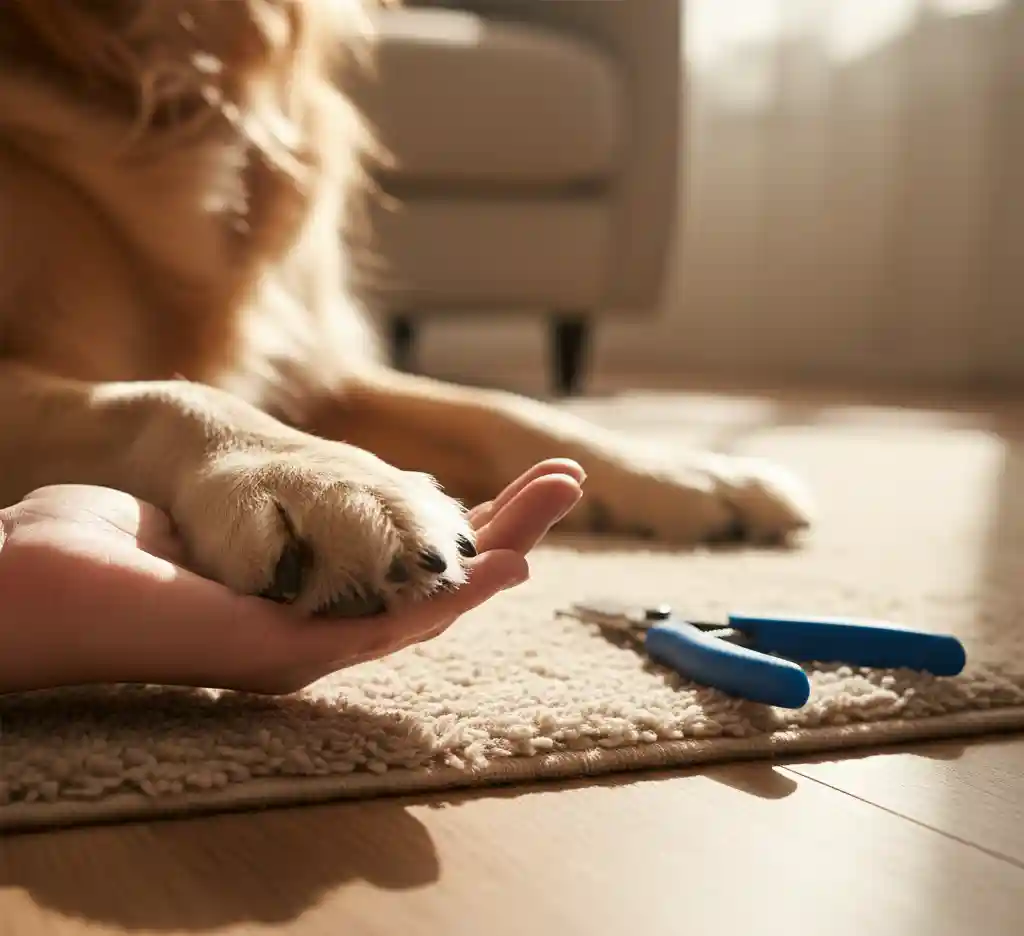
Preparation List: The Grooming Toolkit
Do not attempt this surgery-level precision with dull tools. You need:
-
Scissor-Style Clippers: (Recommended over “Guillotine” style for better visibility). Must be sharp.
-
Styptic Powder: (Or Cornstarch) to stop bleeding instantly if accidents happen.
-
A Headlamp or Bright Flashlight: To illuminate the cut surface.
-
High-Value Treats: To create a positive association (Counter-conditioning).
-
A Non-Slip Mat: To keep the dog stable.
[HowTo Schema: The “Salami Slice” Technique]
The Method: Finding the Safe Zone
We do not do “one big clip.” We use the “Salami Slice” method—taking off millimeter-thin layers until we see the stop sign.
Step 1: The Setup
-
Pro Tip: Lift your dog’s paw backwards (like shoeing a horse) rather than pulling it forward. This gives you a clear view of the flat bottom of the paw pad and the nail tip.
Step 2: The First Slice (The Hook)
-
Cut off just the very thin, curved tip of the nail (the hook).
-
Look at the cut surface: It will likely look chalky and white/grey throughout. This means you are still in the “dead” keratin zone. Safe to proceed.
Step 3: The “Salami Slicing”
-
Continue taking tiny, 1-2mm slices. Check the cut surface after every single clip.
-
The Warning Sign: As you get closer to the Quick, the center of the nail will change from chalky white to a shiny, jelly-like texture.
Step 4: The “Black Dot” (STOP HERE)
-
Eventually, you will see a small black or gray dot appear in the very center of the white/chalky ring.
-
This is the Pulp. It is the protective cap right on top of the Quick.
-
Action: When you see the shiny Black Dot in the center, STOP. Do not cut the dot. You are right at the blood supply.
Step 5: Smoothing
-
Use a nail file to smooth the sharp edges around the dot, careful not to file the dot itself.
Mistakes to Avoid
-
Using Dull Clippers: Dull blades “crush” the nail rather than slicing it. This pressure squeezes the nerve inside (the Quick), causing pain even if you don’t make the dog bleed.
-
Forgetting the Dew Claws: These are the “thumbs” higher up the leg. Because they don’t touch the ground, they don’t wear down naturally and can grow into the skin (ingrown nails).
-
Panicking if You Draw Blood: Dogs feed off your energy. If you cut the quick, don’t scream. Calmly apply Styptic Powder, hold for 30 seconds, give a treat, and stop for the day.
-
Restraining Too Hard: If you wrestle the dog, they will fight back. If the dog is terrified, do one nail per day.
[FAQPage Schema: Troubleshooting]
Frequently Asked Questions
Q: My dog pulls their paw away instantly. What do I do?
A: You need to desensitize them to the tool before the action. Spend a week just touching the clippers to their paw, clicking the sound (without cutting), and giving a treat. This is called “Classical Conditioning.”
Q: How often should I cut black nails?
A: Every 2 weeks. The Quick is dynamic; it grows with the nail. If you cut frequently, the Quick will recede (shrink back), allowing you to keep the nails shorter. If you wait months, the Quick grows out to the tip.
Q: Can I use a grinder (Dremel) instead?
A: Yes, grinders are often safer for black nails because they remove material slowly. However, the noise and vibration can be scary. The “Black Dot” rule still applies—stop grinding when you see the shiny center.
Q: How do I know if the nails are too long?
A: The “Click Test.” If you hear your dog’s nails clicking on the hardwood floor when they walk, they are too long. Nails should ideally hover just above the ground.
Manager’s Insight: The “Energy” Transfer
Here is a counter-intuitive tip: Stop looking at the nail so intensely.
When we stare at the nail, hold our breath, and freeze, our body language screams “DANGER!” to the dog. They think, “My human is scared, so something bad is about to happen.”
Try to breathe rhythmically. Put on some music. If you are shaking, put the clippers down. A calm owner who cuts one nail a day is better than a stressed owner who wrestles through all 18 nails in one session.
Scientific References
-
Miller, C. (2018). Anatomy of the Canine Claw and its Relation to Grooming. Veterinary Nursing Journal.
-
Hedges, S. (2012). Low Stress Handling & Restraint for Grooming. (Techniques to reduce anxiety during nail trims).
-
Mills, D. S. (2005). Medical training and husbandry behaviors in dogs. (Desensitization protocols).